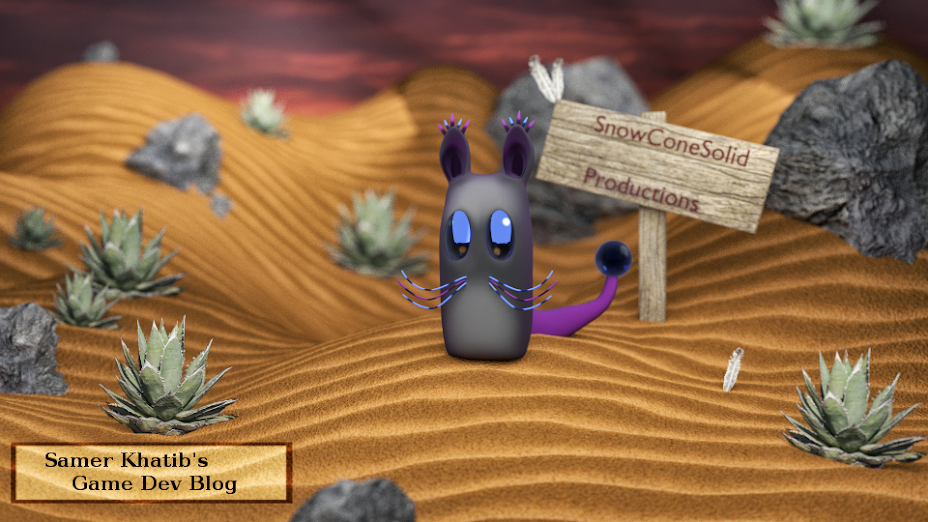
Here is a quick breakdown of how I created the Ponytail character that you see above.
First, I started out with a quick character concept sketch that I drew on paper. As you can see, the character I originally had in mind was more of this older cartoony vampire type character. The end results was a completely different character.
I started off by poly modeling the entire character from a cube. Everything from the head to nose was poly modeled by hand. I did not do any dynamic sculpting (dynamic topology) or retopolgy at all for this character model. However, I did use sculpting tools such as the grab, smooth and inflate brushes to adjust the vertices I already had on this model.
After modeling the main body, I then modeled the features that give the character a unique look. Small detail stuff like hairstyle and type of eyebrows, adjusting certain aspects like how wide is the character and so on. Originally, I tried to go for a bald top - crazy hair coming out of the sides hair style, very similar to my concept sketch. I did not like the way it looked. It was messy so I scrapped it. I then decided to just model a simple ponytail type hairstyle as you can see in the next two images. After giving him a ponytail hairstyle, I decided to just name the character "Ponytail"
The modeling was done at this point.
I laid down some simple base colors for the character. Not final color scheme. Just preparing early for texturing later on.
For the eyes, I was originally planning on just texture painting them onto the mesh. However, I later decided to actually model in the eyes and make it part of the mesh's geometry. This was a much better result.
Next came the texturing process. I started marking seams on the model and unwrapping the parts. I then organized them on a 2048x2048 texture map.
Still on the texturing process. I baked out an AO map and a diffuse map and used those to create one texture map for the character model. I then hand painted extra details such as the eyes, added fabric detail to the clothing pieces, fixed the messy parts of the texture map (such as artifacts from the ao bake or seam lines that showed) and played around with the color schemes a bit.
Next came the rigging which is actually a very quick and easy task to do if you are using Blender3d as your 3d modeling program. Using Blender's rigify add-on, I quickly rigged my humanoid character model. While the rigify add-on does save a lot of time on the rigging process, it is not perfect. So I had to go back, adjust some weight paints and clean up a little bit so that the mesh properly deforms and is animation ready.
At this point the 3d creation and rigging side of things from Blender3d is complete. Finally I exported the model as a .fbx and the .png texture map to the Unity game engine. I created a small working prototype demo and set up a third person controller so that the character can actually move and be in action.
And that is the whole character creation process for "Ponytail". I would say this character model probably took around 4-5 hours to create from start to finish. There is still a lot more work to be done in the unity engine. This is just one of the many things that goes into game creation. It's a very time consuming process and takes a lot of patience and work. But it sure is a lot of fun and seeing the end results of your hard work is a great feeling.


